Light Up Your Webcam: Tips for Professional Lighting for Webcam Models
Light Up Your Webcam: Tips for Professional Lighting for Webcam Models
As a webcam model, having the right lighting setup is essential for creating a professional and attractive look. Lighting can make or break your performance, so it’s important to get it right. In this article, I’ll be discussing some tips for professional lighting for webcam models.
Choose the Right Lighting Equipment
The first step in creating a professional lighting setup is to choose the right equipment. You’ll need to consider the type of lighting you’ll be using, the size of the room, and the type of camera you’ll be using.
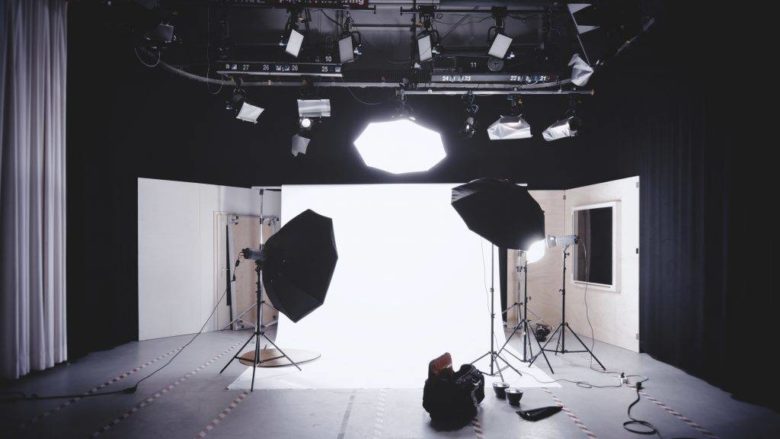
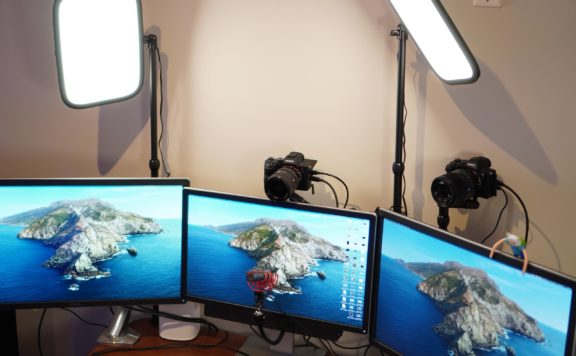
For most webcam models, a three-point lighting setup is the best option. This setup consists of a key light, a fill light, and a backlight. The key light is the main light source and should be placed in front of the model. The fill light should be placed to the side of the model, and the backlight should be placed behind the model.
When it comes to choosing the right lighting equipment, you’ll want to look for lights that are adjustable and have a wide range of brightness levels. You’ll also want to make sure that the lights are compatible with your camera.
Position the Lights Properly
Once you’ve chosen the right lighting equipment, you’ll need to position the lights properly. The key light should be placed in front of the model, at a 45-degree angle. The fill light should be placed to the side of the model, at a 45-degree angle. The backlight should be placed behind the model, at a 45-degree angle.
When positioning the lights, you’ll want to make sure that the lights are not too close to the model. You’ll also want to make sure that the lights are not too far away from the model. The lights should be positioned in such a way that they create a balanced and even lighting effect.
Adjust the Lights for the Best Results
Once you’ve positioned the lights properly, you’ll need to adjust them for the best results. You’ll want to adjust the brightness levels of the lights so that they create a balanced and even lighting effect. You’ll also want to adjust the color temperature of the lights so that they create a natural and attractive look.
Use Reflectors and Diffusers
In addition to adjusting the lights, you’ll also want to use reflectors and diffusers. Reflectors are used to bounce light back onto the model, while diffusers are used to soften the light. Both of these tools can help to create a more natural and attractive look.
Conclusion
Creating a professional lighting setup for webcam models is essential for creating a professional and attractive look. By following the tips outlined in this article, you’ll be able to create a lighting setup that will help you look your best. With the right lighting setup, you’ll be able to create a professional and attractive look that will help you stand out from the crowd.
Light Up Your Webcam: Tips for Professional Lighting for Webcam Models

